
How to use Netbox as Source of truth
Introduction to Netbox tool to show how it will document your Infrastructure and become source of truth
DEVNETAPPS
Hari Shankar Yellapragada
5/8/20245 min read


Netbox: The Ultimate Source of Truth for Your Network Infrastructure
What’s the Hype About the Source of Truth for Network Infrastructure?
Managing 100 or even 1,000 servers and racks can be a daunting task. Let me guess, you’re probably relying on Excel sheets, right? Unless you’re an absolute wizard in Excel, that can quickly get out of hand.
Now, what if each team in your company maintains their own version of these Excel sheets? Suddenly, things start to get complicated. Mismatched data, duplicated work, and miscommunication become part of your daily routine.
Here’s another common scenario: your colleague or manager asks you, “How many servers do we have in the data center?” Easy enough. But then they follow up with, “How many of those are Dell servers or HP servers?” Suddenly, you’re scrambling through multiple Excel files trying to find the right information.
Enter NetBox—a centralized Source of Truth for your network infrastructure. One of the major benefits of using NetBox is its powerful API, along with its intuitive graphical rack elevations, making network management not just possible, but efficient and scalable.
Ready to Simplify Your Network Management?
Let’s get started with a simple installation!
I am taking reference from the official Netbox community and I walk you through why we chose a docker-compose method.
Well, firstly docker is a container that will unpack things irrespective of your operating system. but if Netbox needs a database, caching and queuing, and an actual Netbox application which are three different things, you need to make sure all 3 are in sync. Which can be tricky sometimes. For this problem, the solution is docker-compose. which will give you the advantage of managing multiple containers.
Reference: Netbox-Community
Once you run the above commands, you will have your netbox application running
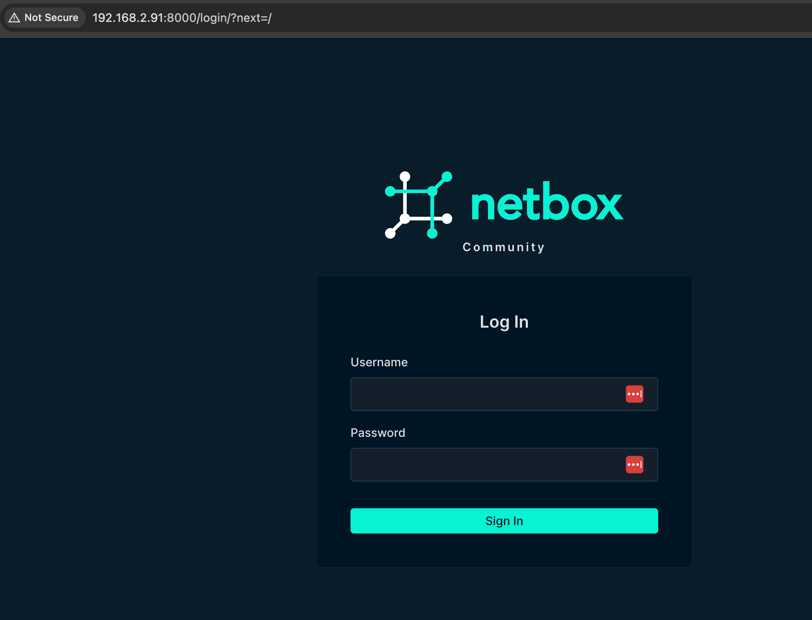

Whoop! The NetBox Login Page Looks Awesome, Doesn’t It?
I have to say, I wasn’t expecting this fresh green look—I’m so used to the classic blue theme! NetBox is evolving rapidly, especially with new cloud options and updates. It’s exciting to see how much things are changing!
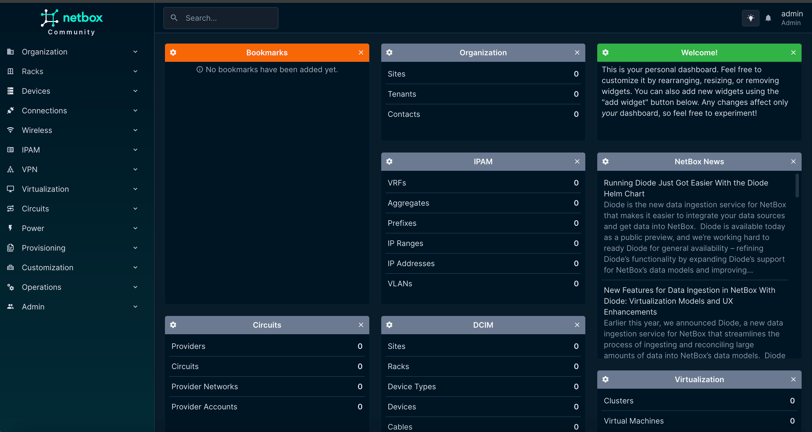

Adding a Device in NetBox: Mandatory and Optional Items
When adding a device to NetBox, you’ll be prompted to enter the following mandatory items:
Site: Toronto
Device Role: Networking
Manufacturer: Cisco
Device Type: Cisco CSR
Device Name: R1
To create your first device, you need to ensure all these dependencies are in place. At first, it might seem like a lot of work, but trust me—once you’ve set up the structure, adding devices becomes a streamlined process.
Optional, Yet Powerful Additions
These optional items make a significant difference, especially when it comes to automation:
Rack: A1
Device Interfaces: Mgmt0
IP Address: 172.20.20.X.
For this setup, I’ll be creating three devices: R1, R2, and R3, each with their respective Mgmt0 IP addresses.


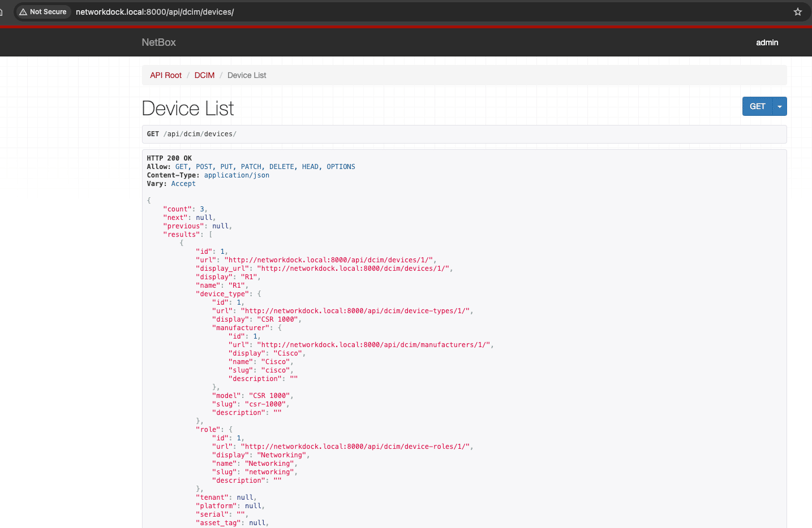

One change I made before you see the screenshots below is adding a manual domain entry that resolves networkdock.local to 192.168.2.91.
In the Devices tab, if you click on API, it will take you to the REST API page.
Example:
http://networkdock.local:8000/api/dcim/devices/
Since this is hosted locally, you won’t be able to access it externally. But I hope you get the idea!
Why Use NetBox API for Automation?
Navigate to the API page and explore the details available. At this point, you might wonder: What’s the use of all this?
Well, in order to automate tasks, Python scripts can query the API to perform GET, PUT, DELETE operations on the data. This allows you to process massive amounts of information in seconds—something that’s impossible for a human to do manually.
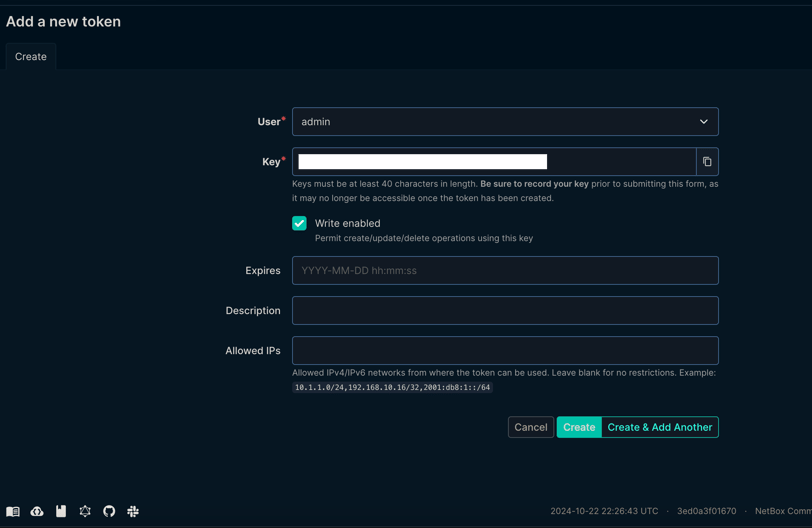
To demonstrate, let me share a sample Python script that extracts information from NetBox using the API. For this script, I’m creating a token with write permissions (optional), though you only need write access if you plan to make changes to the data. For simply fetching data, read-only permissions will suffice

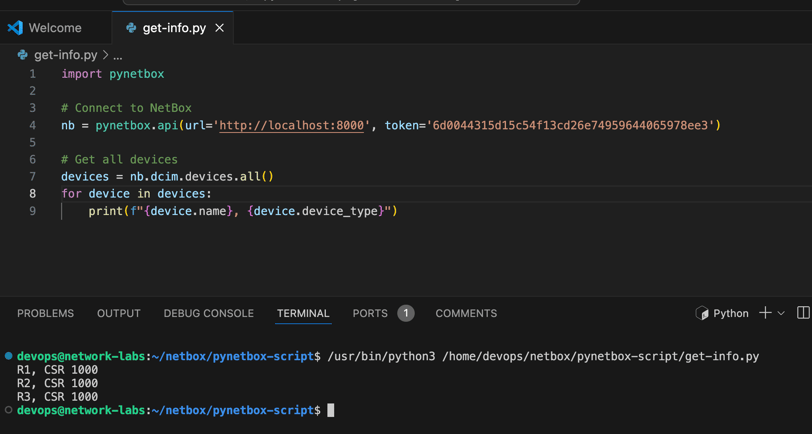

If you’ve seen the Visual Studio Code screenshot above, you’ll notice I’ve imported the pynetbox library. This library makes interacting with NetBox’s API much easier and more user-friendly when writing Python scripts.
Since I’m running NetBox, my virtual network containers, and even my Python scripts on a single machine for lab purposes, I’ll be using localhost:8000 along with the API token we generated earlier.
The main logic behind this script is simple: I’m importing all the devices in NetBox into a variable called devices. Then, I use a basic for loop to iterate over each device.
It’s a straightforward process! In this example, I’m just printing out the device name and its device type. You’ll see the results instantly when the script runs.
Now, imagine if you needed to update a specific configuration or command across hundreds or even thousands of devices. With the power of NetBox and the pynetbox library, you can easily automate that process—saving you tons of manual work and avoiding human errors.
I hope you found this helpful. If you want to dive deeper into automation with Python, check out my blogs on Netmiko and Nornir, where I discuss more advanced topics related to network automation.
Thank you for reading this blog! If you have any questions, suggestions, or feedback, feel free to reach out or drop a comment. I’d love to hear from you.


Explore More at NetworkDock

Insights
Explore the exciting world of network automation.
Connect
Network Dock
connect@networkdock.info
© 2024 Network Dock. All rights reserved.
Join Forces
Legal


